
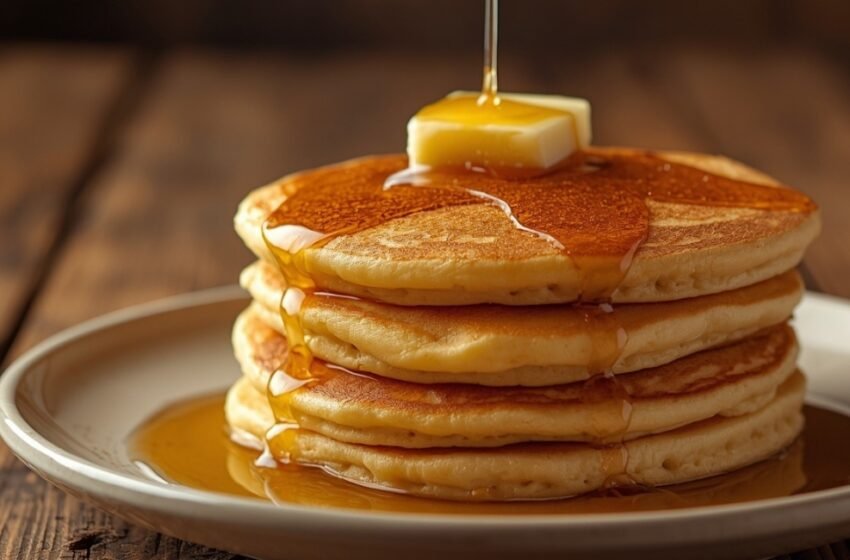
There’s something special about waking up to a stack of warm pancakes on a lazy weekend morning. The Fluffy Buttermilk Pancakes I Make Every Single Weekend are light, tender, and golden around the edges.
The secret lies in using buttermilk, which adds a gentle tang and helps create an incredibly soft texture. Combined with all-purpose flour, fresh eggs, melted butter, and a little baking powder, these homemade pancakes come together with simple pantry ingredients. I love serving them hot with maple syrup, fresh berries, or a small pat of butter. Whether you’re making breakfast for your family or enjoying a quiet morning, these fluffy pancakes make every weekend feel a little more special and delicious.
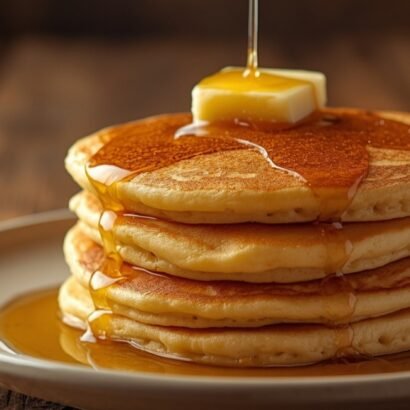
The Fluffy Buttermilk Pancakes I Make Every Single Weekend
Ingredients
1 ½ cups all-purpose flour
3 ½ tsp baking powder
1 tsp salt
1 tbsp granulated sugar
1 ¼ cups buttermilk (regular milk works too, more on that below)
1 large egg
3 tbsp unsalted butter, melted
1 tsp vanilla extract
Extra butter or oil for the pan
Two mixing bowls (one for dry, one for wet)
A whisk
Measuring cups and spoons
A non-stick skillet or griddle
A spatula
A ¼ cup measuring cup or ladle, for even pancakes
A wire rack (keeps them from getting soggy while you cook the rest)
Instructions
- Step 1: Whisk the dry ingredients. In a large bowl, whisk together the flour, baking powder, salt, and sugar. Get it evenly mixed now so you're not fighting clumps of baking powder later.
- Step 2: Whisk the wet ingredients. In a second bowl, whisk the buttermilk, egg, melted butter, and vanilla until smooth.
- Step 3: Combine, but barely. Pour the wet mix into the dry mix. Stir with a spoon or spatula until just combined. Lumps are good here. Truly.
- Step 4: Let the batter rest. Set it aside for 5 to 10 minutes. This is the step almost everyone skips, and it's the one that makes the biggest difference.
- Step 5: Heat your pan. Set your skillet to medium-low heat and add a small pat of butter. You want it melted and just barely sizzling, not smoking.
- Step 6: Cook the pancakes. Pour ¼ cup of batter per pancake onto the pan. Cook for 2 to 3 minutes, until bubbles form across the top and the edges look set. Flip once. Cook another 1 to 2 minutes on the other side.
- Step 7: Keep them warm. Transfer finished pancakes to a wire rack set over a baking sheet in a 200°F oven while you cook the rest. Stacking them straight on a plate traps steam and turns the bottoms soggy.
Pro Tips:
A few things I learned the hard way so you don’t have to.
•Don’t overmix the batter. Overmixing develops gluten, and that’s what makes pancakes dense and chewy instead of fluffy.
•Let the batter rest. Those 5 to 10 minutes let the baking powder activate and the flour hydrate. It genuinely changes the texture.
•Test your pan with a drop of water first. If it sizzles and dances around, you’re ready. If it evaporates instantly, your pan’s too hot.
•Resist the urge to press down on them.Pressing squeezes out all the air you worked to build in.
•Only flip once. Every flip after the first one deflates the pancake a little more.
A Few Extra Details:
Nutrition (per pancake, based on 12 pancakes): roughly 120 calories, 4g fat, 18g carbs, 3g protein. This will shift depending on your milk and butter swaps.
Pairing ideas: maple syrup and butter are classic, but fresh berries, whipped cream, or a drizzle of peanut butter all work well too. Crispy bacon on the side never hurts.
Time-saving tip: double the batch and freeze half. Future you will be very grateful on a rushed Tuesday morning.
FAQs:
Why are my pancakes flat?
Your baking powder is probably old, or you skipped the resting step. Both matter more than people expect.
Why are my pancakes rubbery?
You overmixed the batter. Stop stirring as soon as you stop seeing dry flour.
Can I make the batter the night before?
You can, but the texture is noticeably better when it’s mixed fresh and rested for just a few minutes.
What’s the best flour for this recipe?
Regular all-purpose flour gives the best rise and texture. Save the whole wheat for another day.
Why does the recipe call for resting the batter?
It gives the baking powder time to activate and the gluten time to relax. Skip it, and you’ll notice the difference.

